Mold Behind Drywall in Tampa: How to Identify & Safely Remove
Quick answer: Mold behind drywall in Tampa typically grows when humidity exceeds 60% for more than 48 hours, often driven by AC condensate leaks, hidden plumbing leaks, or post-storm moisture intrusion. You can confirm it through musty odor, visible staining bleeding through paint, moisture meter readings above 17%, or borescope inspection. The EPA recommends professional remediation for any visible mold larger than 10 square feet, with IICRC S520 containment required to prevent cross-contamination. Removal costs in Tampa run $500 to $6,000 depending on affected area. 911 Restoration of Tampa Bay provides free visual inspections and IICRC-certified remediation across Hillsborough and Pinellas Counties. Call (813) 261-1525.
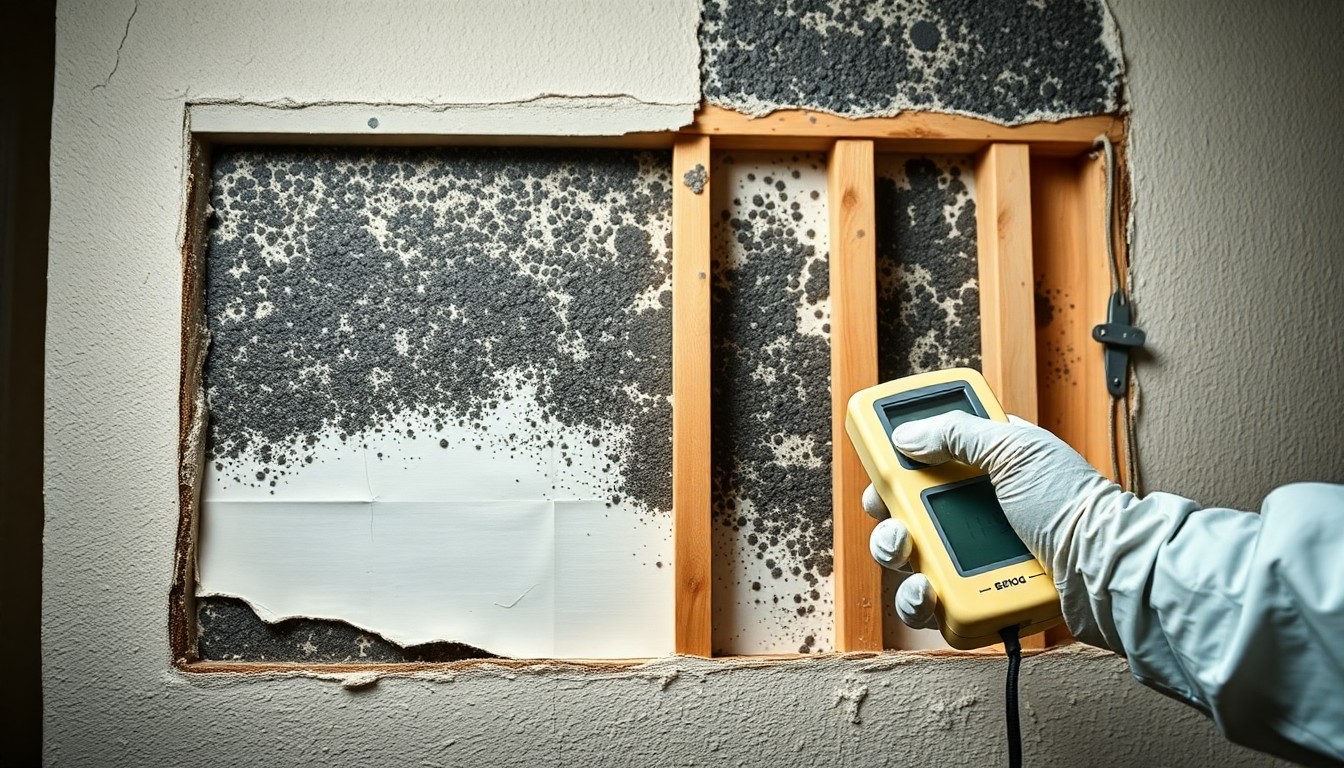
The damage almost always lives on the back of the drywall, not the face.
You can smell it before you can see it. That faint locker-room sourness near the baseboard. The sense that one corner of a closet feels heavier on humid days. A musty taste in the air that does not match the brightness of the room. In Tampa, that combination almost always means one thing: mold is growing on the back side of a piece of drywall, where you cannot see it yet.
Mold behind drywall is the most common form of hidden mold we find in Tampa Bay homes. Florida’s relative humidity averages 72% to 88% year-round, which keeps the back of every wall cavity perpetually close to the dew point. Add an AC condensate leak, a slow plumbing drip, or 72 hours of water intrusion after a storm, and the gypsum-and-paper that drywall is made of becomes nearly perfect mold food.
This guide walks you through how to confirm it, when you can patch versus when you have to demo, and what proper IICRC S520-compliant removal actually looks like. We are 911 Restoration of Tampa Bay; we are IICRC-certified in Applied Microbial Remediation (AMRT) and Water Restoration (WRT), and we run free visual inspections countywide.
Why mold loves the cavity behind Tampa drywall
A typical interior wall in a Tampa home is built like this: paper-faced gypsum drywall on the room side, a 3.5 to 5.5-inch air cavity with fiberglass or open-cell spray foam insulation, wood or metal framing, and another sheet of drywall (or exterior sheathing) on the back. Three things make this cavity a mold-friendly environment:
The paper face is mold food. Gypsum itself does not support mold growth well, but the paper on both sides of the gypsum board is essentially purified cellulose. Mold colonies establish on the paper within 24 to 72 hours of sustained moisture above 60% relative humidity at the substrate.
The cavity is humid by default. In Florida, conditioned-space air sits at 50% to 55% relative humidity (when the AC is working right) and 60% to 75% (when it is not). Inside the wall cavity, where there is no direct conditioning, RH often runs higher than the room. The air on the outside of the wall (exterior sheathing facing the attic or the outside) can be at 80% to 95% RH, especially during summer.
Condensation is constant. Tampa’s summer dewpoint averages 72 to 75°F. Any surface inside the wall that is cooler than the dewpoint (cold-water plumbing lines, AC supply ducts, the back of an exterior wall in a heavily AC’d room) accumulates condensation. That condensation slowly soaks the back of the drywall. You will never see the moisture because it is on the side facing the cavity, not the side facing the room.
The combination is why mold behind drywall is the leading hidden-mold scenario we see in Tampa Bay homes, including new construction.
How to identify mold behind drywall in your Tampa home
You cannot see through drywall. But mold gives off enough secondary signals that a careful walkthrough usually catches it. Here is what to look for, in order:
1. The musty smell test
Mold spores release microbial volatile organic compounds (MVOCs) as they metabolize. The smell is variously described as earthy, sour, locker-room, basement-like, or “old book.” If a specific room or corner smells musty consistently, especially when the AC kicks on or when you have been away for a few hours and come back, that is signal. Trust the smell. The human nose detects MVOCs at concentrations far below any consumer mold-test kit.
2. Visual signs bleeding through paint
Yellow or brown staining on painted drywall that appears or grows over time, especially near plumbing chases or AC closets.
Bubbling, peeling, or “elephant skin” texture on painted drywall surfaces, indicating moisture migration through the gypsum.
Dark gray, black, or olive-green spots on the surface (this is the colony pushing through; if it is showing through the paint, there is significantly more behind it).
Soft spots when you press the drywall (gypsum has lost structural integrity from moisture).
3. Moisture meter readings
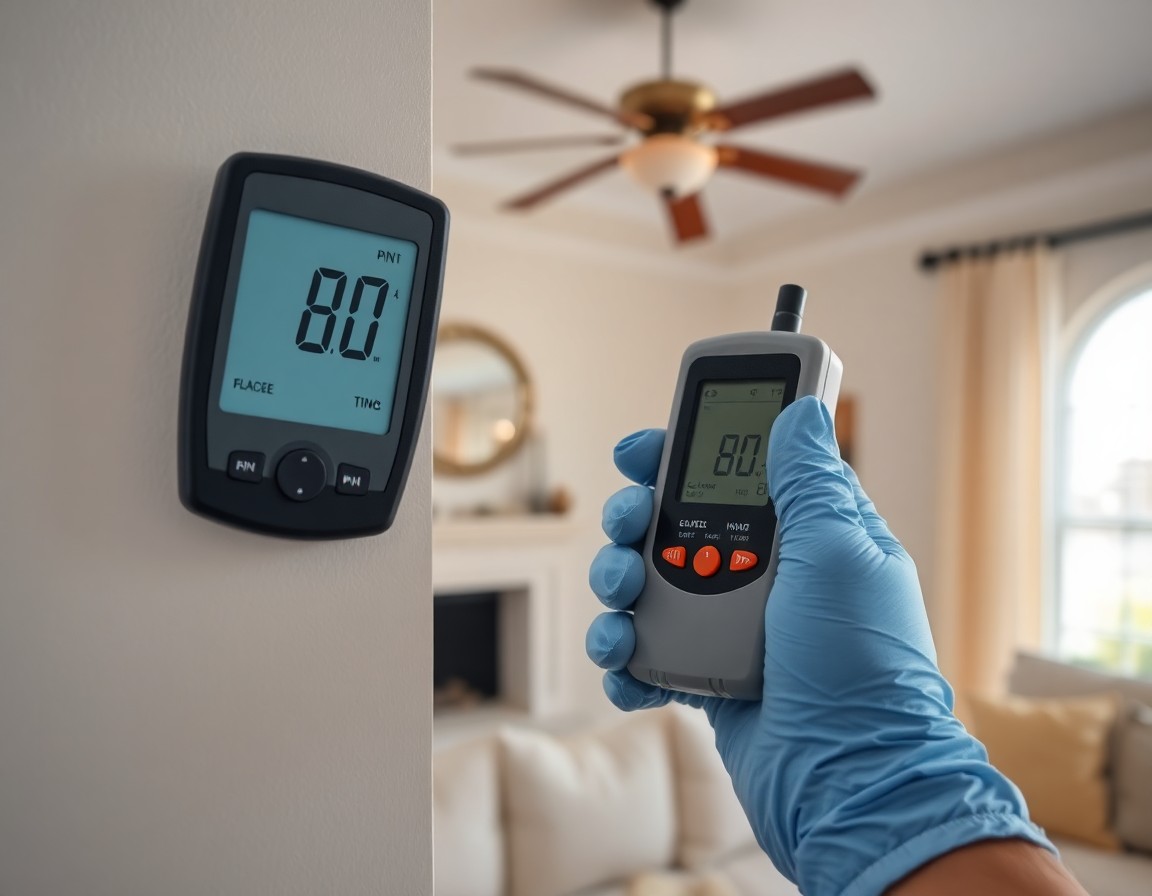
A pinless moisture meter (Tramex, Protimeter, Delmhorst) reads moisture content through the surface without damaging the wall. Tampa interior drywall should read 6% to 12% moisture content. Above 17% is wet enough to grow mold. Above 25% is actively saturated.
Pin-type meters are more accurate for verification but leave two small holes. We use pinless for screening, pin-type for confirmation in the actual problem area.
4. Borescope inspection (when in doubt, look)
A borescope is a small camera on a flexible cable. A dime-sized hole drilled in an inconspicuous spot (behind a switch plate, low on the wall in a closet) lets us look directly at the back of the drywall and the insulation. This is non-destructive enough to be a routine inspection step, and it eliminates guesswork.
5. Allergy or respiratory symptoms tied to the home
Headaches, persistent congestion, sinus pressure, asthma flares, or a new “I feel better when I leave the house” pattern. Not diagnostic on its own, but a strong supporting signal, especially in conjunction with the smell test.
A moisture reading above 20 percent on a painted wall almost always indicates trouble behind it.
The EPA’s 10-square-foot rule (and why it matters)
The U.S. Environmental Protection Agency, in its “Mold Remediation in Schools and Commercial Buildings” guidance, recommends that homeowners or building managers handle visible mold contamination smaller than 10 square feet only with proper precautions and that anything larger be addressed by professional remediation.
The 10 sq ft threshold (roughly a 3-foot by 3-foot patch) is the practical line for DIY versus professional remediation. Behind drywall, however, the visible patch on the room side is almost always smaller than the colony on the back side. By the time you see a 2 sq ft stain bleeding through paint, the actual colony behind that wall is often 8 to 20 sq ft.
This is why “I’ll just spray bleach on it and repaint” is the single most common Tampa homeowner mistake we encounter. The bleach kills surface mold but does nothing to the colony in the cavity, the moisture source remains, and you end up calling us six months later for a job that is twice as expensive.
When you can patch versus when you have to demo
Not every mold-behind-drywall situation requires gutting the whole wall. The decision matrix:
| Situation | Recommended action | |—|—| | Surface mold <10 sq ft, moisture source resolved, drywall structurally sound | Cut out the affected drywall + 12 inches beyond, treat framing, replace | | Surface mold any size, moisture source NOT resolved | Find and fix the source FIRST. Demoing without finding the source guarantees regrowth. | | Visible mold >10 sq ft, or any mold spreading across multiple wall cavities | Full remediation with containment, negative air, HEPA | | Mold visible on the room side AND drywall is soft or sagging | Demo. Soft drywall has lost too much structural integrity. | | Black mold suspected (Stachybotrys chartarum, Chaetomium) | Containment + air monitoring + remediation regardless of visible size | | Mold in HVAC or in a wall containing return-air pathway | Full containment, system shutdown, possible duct cleaning or replacement |
The “12 inches beyond” rule in the first row is from IICRC S520. You cut beyond the visible boundary because the mold mycelium has already extended into the surrounding material at a microscopic level. Cutting tight to the visible mold leaves spore-bearing material behind that becomes the source of regrowth.
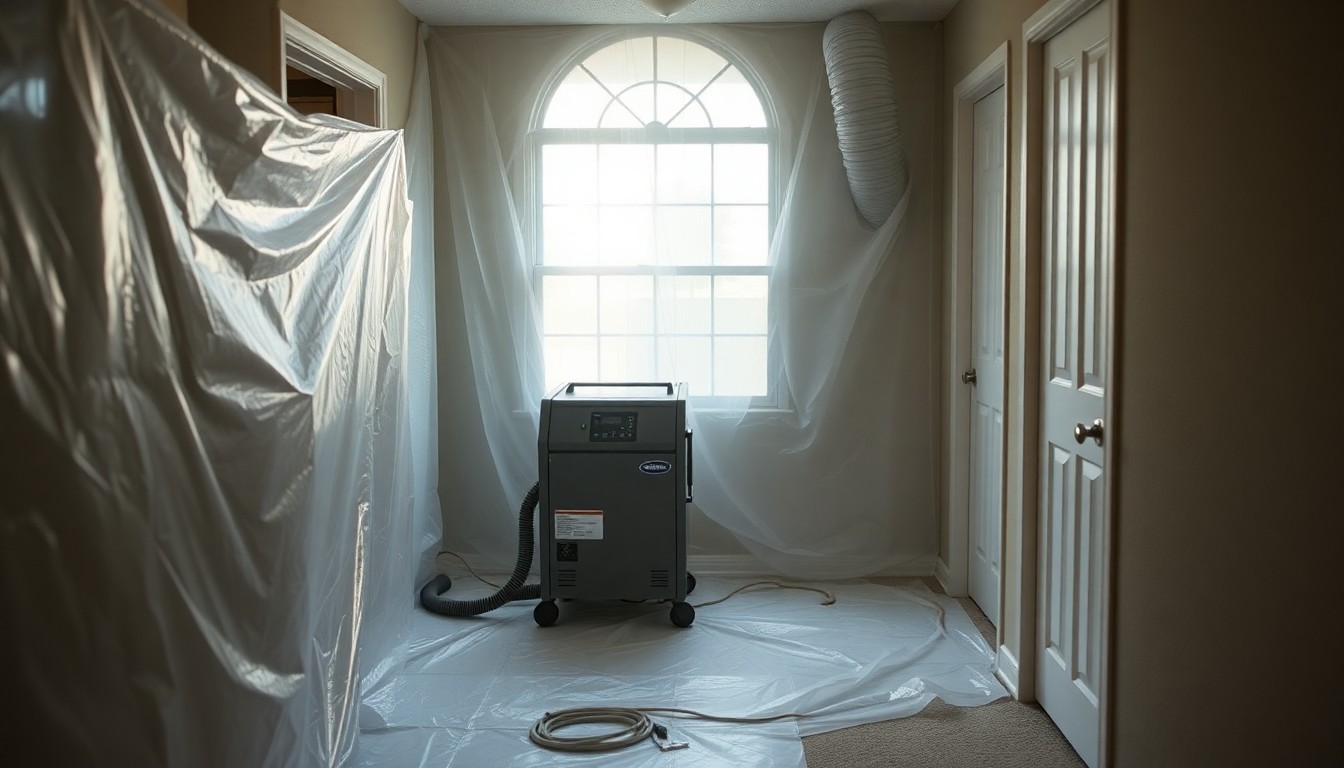
Negative-pressure containment keeps spores from migrating during removal.
IICRC S520: what proper mold remediation actually looks like
S520 is the IICRC standard for professional mold remediation, and it is what carriers, attorneys, and remediation contractors all reference. The process for mold behind Tampa drywall:
Step 1: Pre-remediation assessment
Visual inspection, moisture mapping, borescope where needed, optional surface sampling and air sampling. The point is to define the scope (Condition 1 normal, Condition 2 dust-contaminated, Condition 3 actual mold growth) and the boundary of the affected area.
Step 2: Containment
Plastic sheeting (6 mil minimum) sealed floor-to-ceiling around the work area, with a zipper-door entry. Adjacent rooms isolated. HVAC system shut down or isolated with filtration. The goal is to keep spores from spreading to clean parts of the house during removal.
Step 3: Negative air pressure with HEPA filtration
A negative-air machine (NAM) with HEPA filtration runs continuously in the containment, exhausting outside or through a HEPA-filtered air pathway. This pulls airborne spores out of the containment rather than letting them migrate. Standard target is 4 to 6 air changes per hour at negative pressure.
Step 4: PPE for the technicians
N-95 or P-100 respirators, Tyvek suits, eye protection, gloves. Non-negotiable. The remediator’s health is on the line, and on a busy job a technician may be in containment for 6+ hours.
Step 5: Removal of contaminated materials
Drywall cut out 12 inches beyond visible boundary, bagged in 6 mil plastic, sealed, and removed via the containment exit. Wet vacuumed, HEPA vacuumed. Framing inspected: if mold is on the framing surface only, it can be HEPA-vacuumed, treated with an EPA-registered antimicrobial, and sanded if needed. If mold has penetrated structurally into the wood, sister or replace the framing.
Step 6: Cleaning and HEPA vacuuming
All surfaces in the containment cleaned with HEPA vacuum, damp wipe, and HEPA vacuum again. The two-step “wet/dry/wet/dry” approach captures spores that resettle.
Step 7: Drying and dehumidification
Address the underlying moisture source (this should have been step 1, but verification happens here). Run dehumidification until moisture content of any remaining materials drops below 15% and ambient RH inside the containment is at or below conditioned-space target.
Step 8: Post-remediation verification (PRV)
Visual inspection plus, on larger jobs, air sampling by a third-party industrial hygienist. The PRV report is what insurance carriers want and what gives you defensible documentation if you sell the house in the next five years.
Step 9: Reconstruction
New drywall (we recommend paperless gypsum or greenboard for moisture-prone areas), insulation replacement, primer and paint with mold-inhibiting additive, trim, and final clean.
Paperless vs paper-faced drywall: why we recommend paperless in Tampa
When we replace mold-affected drywall, the choice of replacement material matters in Florida humidity.
Standard paper-faced drywall (USG Sheetrock, etc.): Cheapest, most common. Paper face is mold food. Fine for low-moisture interior walls.
Moisture-resistant (greenboard): Paper face treated with moisture inhibitors. Better than standard for bathrooms and laundry walls. Still has a paper face.
Paperless drywall (Georgia-Pacific DensArmor Plus, USG Sheetrock Brand Mold Tough): Glass-mat facing instead of paper. Mold cannot establish on the facing because there is no cellulose. Recommended for any wall that has previously had mold, any AC closet, any plumbing chase, any wall against an exterior surface in a humid microclimate.
The cost premium is roughly 30% to 50% over standard drywall, which on a remediated wall is usually a $200 to $600 upgrade. Worth it for the reduced regrowth risk.
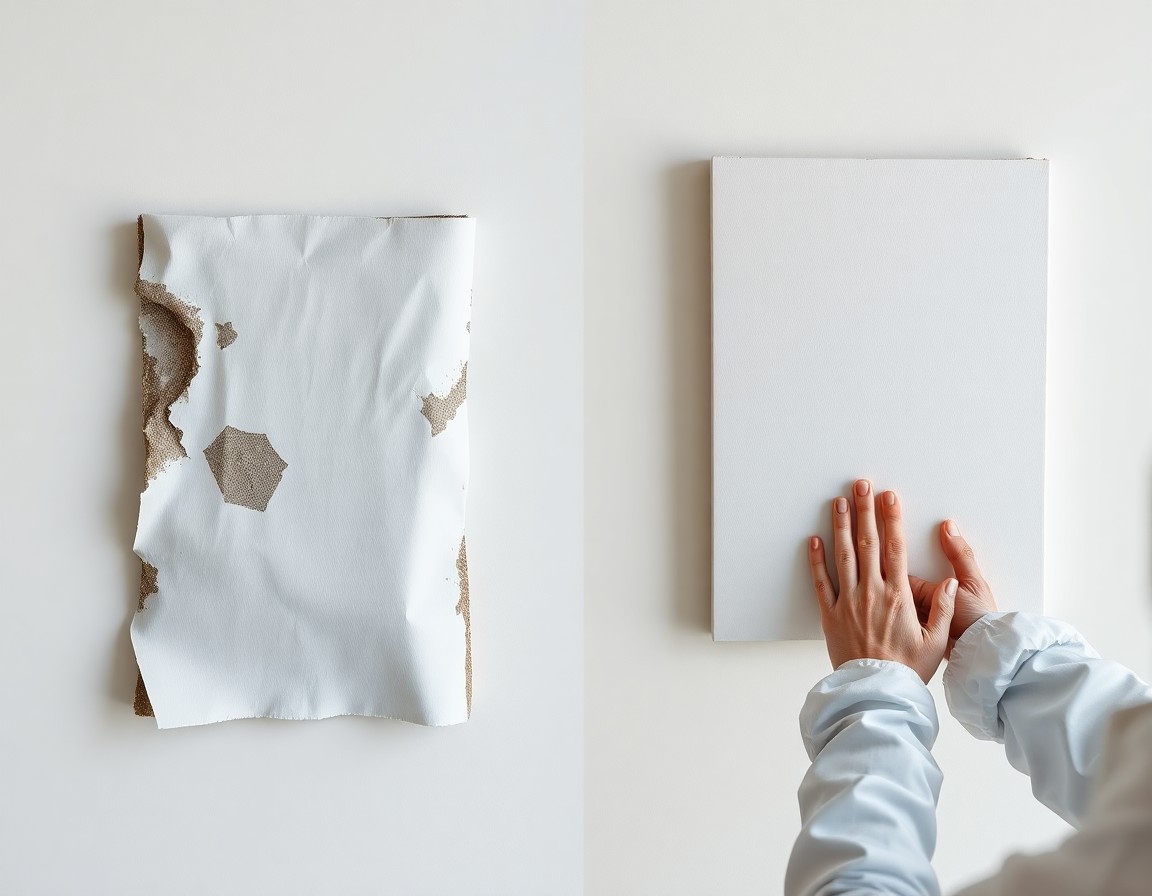
Paperless drywall starves the mold of the cellulose it needs to colonize.
Tampa mold-behind-drywall removal cost ranges
| Job scope | Typical Tampa cost | |—|—| | Single wall, <10 sq ft visible, source resolved, paperless replacement | $500 to $1,500 | | Single room, 10 to 30 sq ft, containment required, source resolved | $1,500 to $3,500 | | Multi-room or whole-house, source still being investigated, third-party PRV | $3,500 to $8,000 | | Whole-house with HVAC contamination | $6,000 to $15,000+ |
Cost drivers: square footage, demo and disposal, containment complexity, whether the HVAC is contaminated, whether the source is found and fixed easily, third-party testing, and reconstruction finish level.
Insurance coverage depends on cause: if the mold resulted from a sudden, accidental, covered water loss (burst pipe, appliance leak, hurricane wind damage), the underlying loss is usually covered with mold remediation subject to the $10,000 mold cap. If the mold resulted from long-term humidity or neglect, it is typically not covered. See our insurance coverage for mold remediation page.
Why DIY behind-drywall mold removal usually backfires
Three reasons we recommend against DIY for any wall-cavity mold larger than a small spot:
Containment is hard. Cutting open a moldy wall without containment releases millions of spores into the rest of the house. The mold problem just moved from one wall to a sitewide air-quality issue.
The colony is always bigger than it looks. Almost every DIY job that calls us back two months later under-removed. The 12-inch margin matters.
The moisture source is not always obvious. AC condensate, slow plumbing leaks, exterior cladding failure, settled foundation cracks, condensation on cold supply ducts. Without finding the source, the mold returns.
The exception: a single small spot (less than a 12-inch square), visible water source you have already fixed, drywall still solid, no respiratory issues in the household. That is a DIY-eligible scenario with N-95 mask, gloves, and proper material handling. Anything larger or anything wet is professional territory.
Frequently asked questions
Q: I smell mold but I can’t see it. How do you confirm it without tearing my walls apart? A: Moisture meter screening to find wet cavities, then borescope inspection through a small (dime-sized) hole in an inconspicuous location. We can confirm or rule out mold in 90% of cases without any visible damage.
Q: I’ve been told my Tampa home has mold. Do I need a test? A: Often yes, but not always. If the mold is visible and you understand the source, testing is optional. If the mold is suspected but not confirmed, or if you have litigation, insurance disputes, or health concerns, third-party industrial hygienist testing is worth the $400 to $800 cost. We can coordinate.
Q: My AC closet smells musty. Is that the source? A: Very often. AC handlers create cold surfaces that condense humidity, and the closet walls and floors are common mold growth sites. If the AC closet itself has visible mold or strong odor, the unit, drain pan, and surrounding drywall all need attention.
Q: Does insurance cover this? A: Sometimes. If the mold results from a sudden, accidental water loss (burst pipe, hurricane intrusion, appliance leak), the standard HO-3 mold cap of $10,000 typically applies. If the mold is from long-term humidity, condensate leak that went unaddressed, or neglect, it is usually not covered. We help you document the loss correctly.
Q: How long does mold remediation take? A: Small spot (single wall, no containment): 1 to 2 days. Single room with containment: 3 to 5 days. Multi-room: 1 to 2 weeks. Plus reconstruction time after remediation is complete.
Q: Can we stay in the house during remediation? A: Usually yes for contained, single-room work. Sometimes no for larger jobs or if anyone in the household has asthma, immune compromise, or significant mold sensitivity. We assess on a per-job basis.
Q: What if the mold has spread into the HVAC system? A: Then the scope expands to include duct cleaning or duct replacement, evaporator coil cleaning, blower wheel cleaning, and possibly UV light installation. This is a common Tampa scenario because Florida AC systems run nearly year-round and accumulate biofilm.
Q: Should I remediate before selling my house? A: Yes, with documentation. A pre-listing remediation with a third-party PRV is a strong asset in negotiations and protects you from disclosure-related issues post-sale.
Q: What about black mold specifically? A: “Black mold” in popular usage usually means Stachybotrys chartarum or Chaetomium globosum. Both are toxigenic and warrant the same containment approach as any other significant mold colony. The color is not the differentiator; the size, location, and individual sensitivity are.
Q: Do you provide a free inspection? A: Yes. Free visual inspection across Hillsborough and Pinellas Counties. We can assess the smell, take moisture readings, do a borescope check if needed, and tell you whether you have a problem and what the realistic scope and cost are.
Tampa mold inspection and remediation
If you smell something you can’t see, or you have visible stains that won’t paint over, schedule a free visual inspection. We will tell you what is actually behind that drywall and what it will take to fix it properly.
Call (813) 261-1525 for a free Tampa mold inspection. IICRC AMRT-certified, fully insured, direct insurance billing for covered losses.